| 일 | 월 | 화 | 수 | 목 | 금 | 토 |
|---|---|---|---|---|---|---|
| 1 | 2 | 3 | 4 | 5 | 6 | 7 |
| 8 | 9 | 10 | 11 | 12 | 13 | 14 |
| 15 | 16 | 17 | 18 | 19 | 20 | 21 |
| 22 | 23 | 24 | 25 | 26 | 27 | 28 |
- 영어
- 머신비전
- 영어기초
- 동사
- 머신러닝
- 특수대학원
- 초보영어
- 코딩
- opencv
- Python
- ComputerVision
- 산업대학원
- 대학원
- 직장인
- 딥러닝
- 4차산업
- 영어회화
- 파이썬gui
- 3dprinter
- machinevision
- Vision
- 파이썬
- 오픽
- 영어공부
- Ai
- 프로그래밍
- C언어
- 인공지능
- coding
- 석사
- Today
- Total
미래기술연구소
[패스트캠퍼스 수강 후기] 컴퓨터비전인강 100% 환급 챌린지 11 회차 본문
오늘은 YOLO v3 의 코드 리뷰를 정리 할 생각임


Config file ( 구성 파일 )
설정이나 프로그램의 실행 일부 등을 저장해둔 파일입니다.
단순히 글자로 저장하기도 하며, XML이나 JSON 같은 저장방식으로 저장하기도 합니다.
프로그램 설정등을 주로 저장하는 파일입니다.
비슷한 파일 확장자로 ini 같은 확장자가 사용됩니다.
ini파일은 주로 글자로 저장되며, config 파일은 주로 XML이나 JSON으로 저장됩니다.
모두 텍스트 형식의 파일로 프로그램을 만들고자 할 때 어떤 확장자를 사용해도 상관없습니다.
다만, 이미 동작하는 확장자를 사용자가 섞어 버리면 안 됩니다.
Darknet 에서
학습된 파일 weights 와
config 파일 , class name ( 80 ea ) 를 불러온다
confThreshold = 0.5 # class 의 확률값이 0.5 이상인 값의 bounding box 에 대해서만 취합함
nmsThreshold = 0.4

test image file Load

network 생성을 readNet 함수를 통해서 모델 파일링 콘피그파일링 네트워크 개체 넷이 생성이 됨
불러오기 실패시 'Net Open failed!' 에러 메시지 프린트

class 이름 불러오기
상단에 coco.names 를 class_labels 로 불러왔다

class_labels 데이터를 재가공을 하게 되는데
그 이유는 coco.names가 txt 파일이므로
각 각 하나씩 하나씩 string 으로 뽑아와서 다시 Classes = [ ] 의 리스트로 넣어준다

label 이 총 80개 인데 이 80개의 bounding box의 색깔을 모두 다르게 하기 위해서
랜덤으로 색상을 지정한다


실행
4장을 for loop 를 통해 순차적으로 실행

import sys
import numpy as np
import cv2


# 모델 & 설정 파일
model = 'yolov3.weights'
config = 'yolov3.cfg'
class_labels = 'coco.names'
confThreshold = 0.5
nmsThreshold = 0.4

# 테스트 이미지 파일
img_files = ['dog.jpg', 'person.jpg', 'kite.jpg', 'dog_1.jpg']

# 네트워크 생성
# net = cv2.dnn.readNet(model, config)
net = cv2.dnn.readNet("yolov3.weights", "yolov3.cfg")


if net.empty():
    print('Net open failed!')
    sys.exit()

# 클래스 이름 불러오기

classes = []
with open(class_labels, 'rt') as f:
    classes = f.read().rstrip('\n').split('\n')

colors = np.random.uniform(0, 255, size=(len(classes), 3))

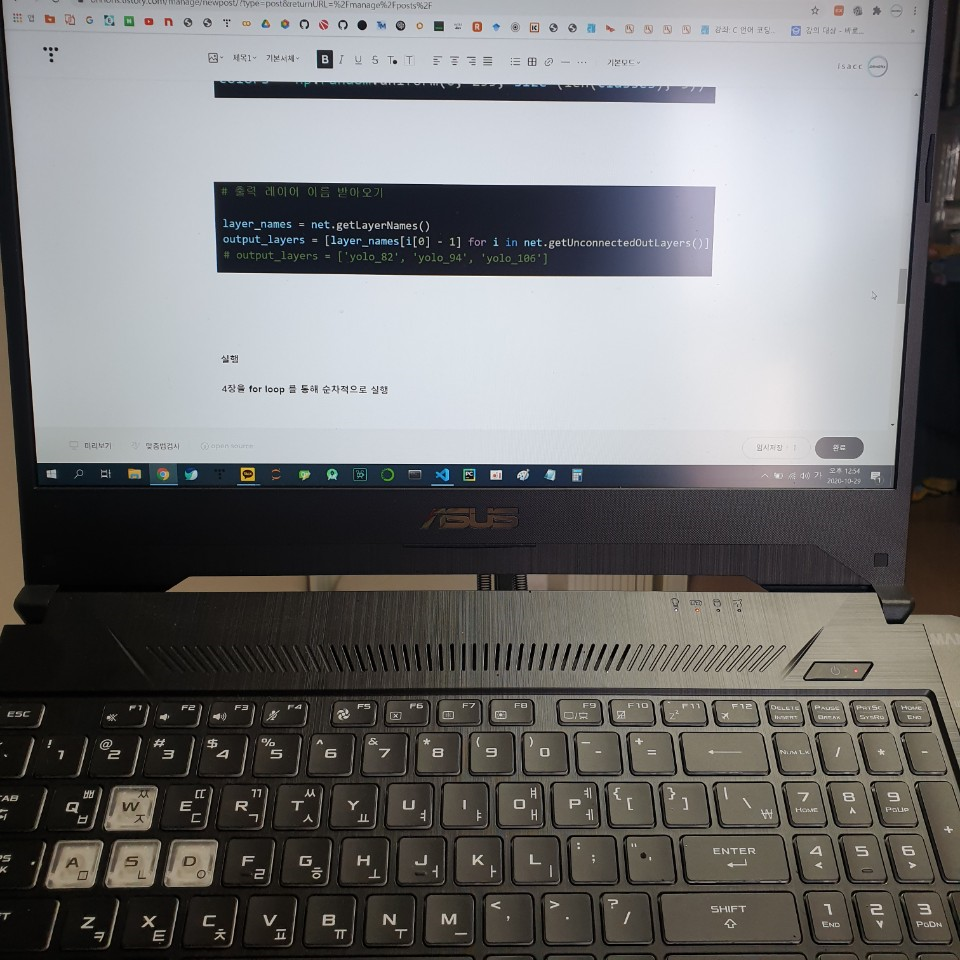
# 출력 레이어 이름 받아오기

layer_names = net.getLayerNames()
output_layers = [layer_names[i[0] - 1] for i in net.getUnconnectedOutLayers()]
# output_layers = ['yolo_82', 'yolo_94', 'yolo_106']

# 실행

for f in img_files:
    img = cv2.imread(f)

    if img is None:
        continue

    # 블롭 생성 & 추론
    blob = cv2.dnn.blobFromImage(img, 1/255., (320, 320), swapRB=True)
    net.setInput(blob)
    outs = net.forward(output_layers)

    # outs는 3개의 ndarray 리스트.
    # outs[0].shape=(507, 85), 13*13*3=507
    # outs[1].shape=(2028, 85), 26*26*3=2028
    # outs[2].shape=(8112, 85), 52*52*3=8112

    h, w = img.shape[:2]

    class_ids = []
    confidences = []
    boxes = []

    for out in outs:
        for detection in out:
            # detection: 4(bounding box) + 1(objectness_score) + 80(class confidence)
            scores = detection[5:]
            class_id = np.argmax(scores)
            confidence = scores[class_id]
            if confidence > confThreshold:
                # 바운딩 박스 중심 좌표 & 박스 크기
                cx = int(detection[0] * w)
                cy = int(detection[1] * h)
                bw = int(detection[2] * w)
                bh = int(detection[3] * h)

                # 바운딩 박스 좌상단 좌표
                sx = int(cx - bw / 2)
                sy = int(cy - bh / 2)

                boxes.append([sx, sy, bw, bh])
                confidences.append(float(confidence))
                class_ids.append(int(class_id))

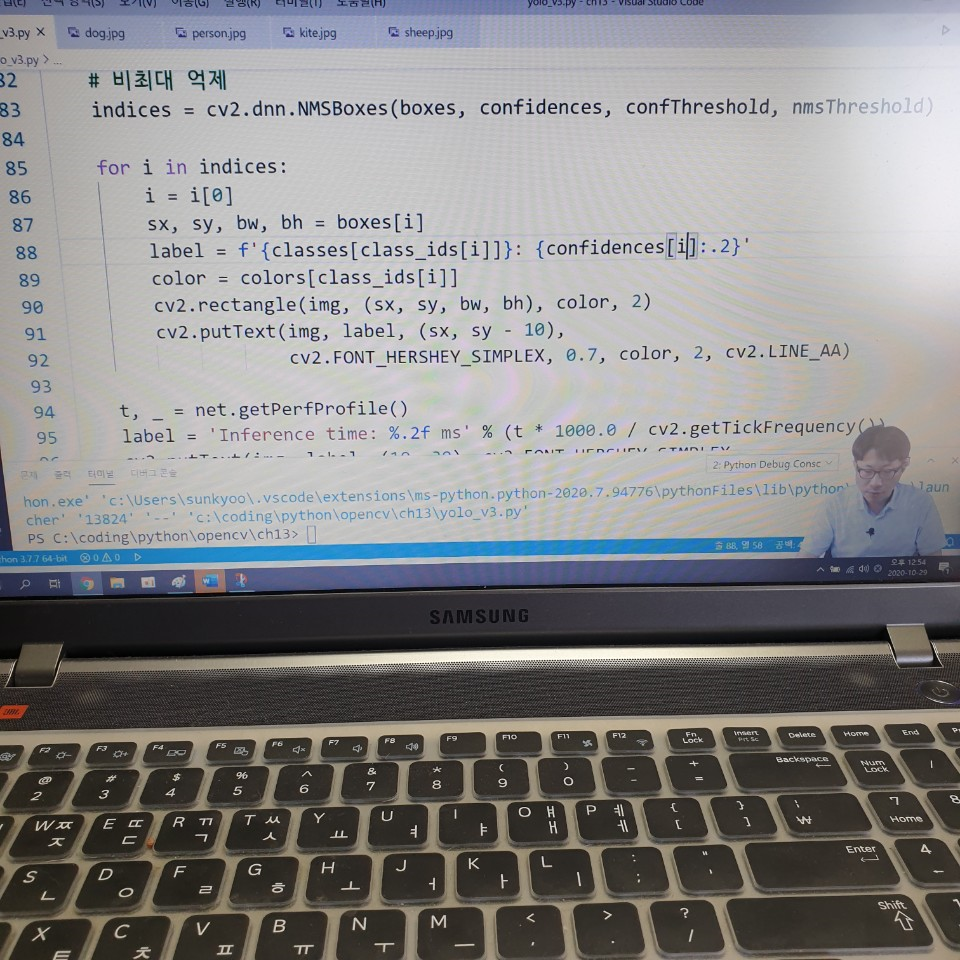
    # 비최대 억제
    indices = cv2.dnn.NMSBoxes(boxes, confidences, confThreshold, nmsThreshold)

    for i in indices:
        i = i[0]
        sx, sy, bw, bh = boxes[i]
        label = f'{classes[class_ids[i]]}: {confidences[i]:.2}'
        color = colors[class_ids[i]]
        cv2.rectangle(img, (sx, sy, bw, bh), color, 2)
        cv2.putText(img, label, (sx, sy - 10),
                    cv2.FONT_HERSHEY_SIMPLEX, 0.7, color, 2, cv2.LINE_AA)

    t, _ = net.getPerfProfile()
    label = 'Inference time: %.2f ms' % (t * 1000.0 / cv2.getTickFrequency())
    cv2.putText(img, label, (10, 30), cv2.FONT_HERSHEY_SIMPLEX,
                0.7, (0, 0, 255), 1, cv2.LINE_AA)

    cv2.imshow('img', img)
    cv2.waitKey()

cv2.destroyAllWindows()
'etc > FastCampus 챌린지' 카테고리의 다른 글
| [패스트캠퍼스 수강 후기] 컴퓨터비전인강 100% 환급 챌린지 13 회차 (0) | 2020.10.31 |
|---|---|
| [패스트캠퍼스 수강 후기] 컴퓨터비전인강 100% 환급 챌린지 12 회차 (0) | 2020.10.30 |
| [패스트캠퍼스 수강 후기] 컴퓨터비전인강 100% 환급 챌린지 10 회차 (0) | 2020.10.28 |
| [패스트캠퍼스 수강 후기] 컴퓨터비전인강 100% 환급 챌린지 9 회차 (0) | 2020.10.27 |
| [패스트캠퍼스 수강 후기] 컴퓨터비전인강 100% 환급 챌린지 8회차 (0) | 2020.10.26 |


